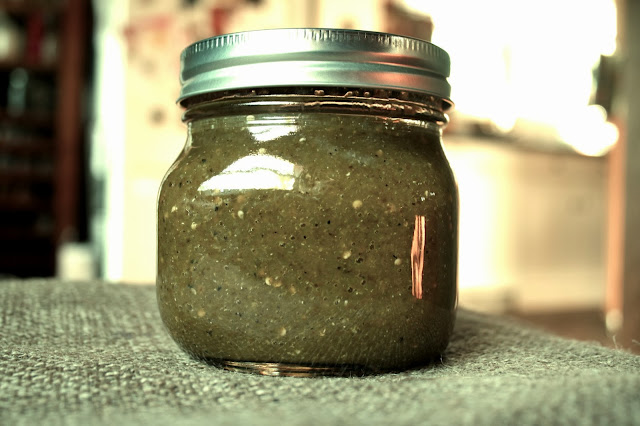
The other day I was on a roll in the kitchen. It was a leisurely Sunday afternoon, I had already baked some bread, roasted some squash for dinner and was in the middle of canning some salsa verde. We got a good amount of poblano peppers this year and I thought I'd add them to some salsa verde in lieu of jalapenos.
Things were going well, the house smelled of deliciousness and I had nowhere else to be. Unfortunately I was in for a turn of events. This story is going in the misadventure column.
I've previously posted a recipe for salsa verde. Using tomatillos, jalapenos, lime, cilantro, salt and sugar. Check it out here. I decided to double, maybe triple, the amount of poblanos because, to my recollection, they're rather mild. I set up all my canning gear. Stock pot, jar grabbers, jars, lids rings. This would be a small batch, about 5 pints worth. As I let the tomatillos boil, I halved the peppers and started roasting them.
As many peppers as I have cut up, I've never had a problem with pepper oil burning me in awful places. I've heard horror stories of burning hands, eyes, and even genitalia... BUT it's never happened to me. Until then. As it's allergy season, I rub my nose a lot. Suddenly I felt the burning at the top of my lip, then at the base of my nose, around my nose, and up inside my nose. Oh, crap. As I breathe in, I can feel the intense burning travelling further up my nose. All I knew was that attempting to wash it off would only spread it further. I quickly left everything that was happening in the kitchen and flew upstairs to where Chris was enjoying his afternoon. "Quick, Google something to counteract pepper oil on your skin!", I say in a panic. In my hypochondriac mind, I'd be asphyxiating in mere minutes...
I'll save you from the drama in between. The lesson learned here, is that lemon juice will relieve your skin from a run in with peppers on your skin. Chris's dad was the hero in the end, telling me to just go ahead and rub that lemon juice all up my nose. As the juice dried it put out the flames in and around my nose. Phew.
Don't worry, I continued to can the salsa! It was totally worth it.
Thursday, September 26, 2013
Tuesday, September 24, 2013
Microwaved Eggplant: I'm a Believer
If the title of this didn't scare you away, but rather intrigued you, I promise you won't be disappointed. This was another recipe I found through Food52, one of "genius" proportions that involves microwaving eggplant. It was quite timely because I found this the day after I wrote the post on Baba Ganoush, and the neediness of eggplant, for lack of a better word. Eggplant ripens just at the end of the summer and most times it's still way too hot to be using your oven. Enter, the microwave. Barbara Kafka's Marinated Eggplant Recipe has made a believer out of me; you can microwave eggplant, and it will be glorious.
You'll need:
You'll need:
- 1/4 cup tamari or soy sauce
- 2 tablespoons loosely packed cilantro leaves
- 1 tablespoon rice wine vinegar
- 1 tablespoon toasted sesame oil
- 1 1/2 medium-size cloves garlic
- 3/8 ounces fresh peeled ginger (a 1-by- 1/4-inch piece), cut crosswise into 1/4-inch slices
- 4 small Chinese eggplants (2 to 3 ounces each)
Method:
- Combine all ingredients, except eggplants, in a blender. Process until smooth.
- Prick the eggplants several times with a fork and pull off the leaves. Cut in half lengthwise. On the open side of each half, make three deep diagonal slashes in each direction. Place eggplants skin side down in a 13-by-9-by-2-inch microwave-safe oval dish.
- Spoon 1 1/2 teaspoons of the marinade over each eggplant half. Rub the marinade into the flesh so that it runs into the cuts. Turn eggplants skin side up. Pour remaining marinade into dish. Let stand for 45 minutes.
- Turn eggplants skin side down. Cover tightly with lid or microwave plastic wrap. Cook at 100 percent power in a high-power oven for 10 minutes. Prick plastic to release steam.
- Remove from microwave and uncover. Serve warm or at room temperature.
In my excitement to try this out, I failed to notice the "marinate for 45 minutes". At the time, I was really impatient, but I think it's a crucial part.
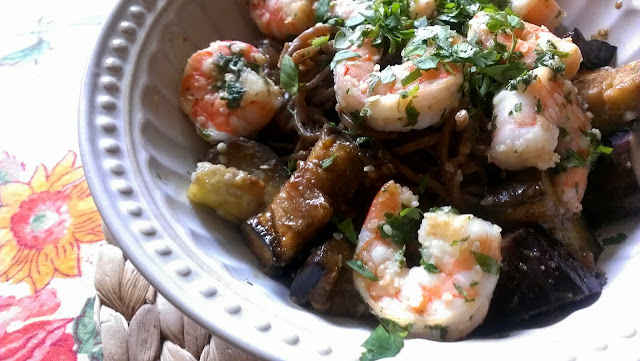
After the eggplant is microwaved, it comes out looking like it's been roasted for a long time. They're not spongy, they're smooth and completely infused with the marinade. Wow. I decided to make some soba noodles and extra cilantroed shrimp with this. Shrimp wouldn't be my first choice, but it was all I had, and it tasted mighty fine. In the future, I might include some marinated, pan-fried tofu. OR just eat the eggplant on it's own because it was DE-lish.
Now I know we're at the end of September, and you can probably use your ovens without sweating all over the kitchen, but this dish will still be awesome. Quick, go out and get some eggplant before you start spending all your days making roasts and stews!
Now I know we're at the end of September, and you can probably use your ovens without sweating all over the kitchen, but this dish will still be awesome. Quick, go out and get some eggplant before you start spending all your days making roasts and stews!
Thursday, September 19, 2013
Chickens and Yogurt
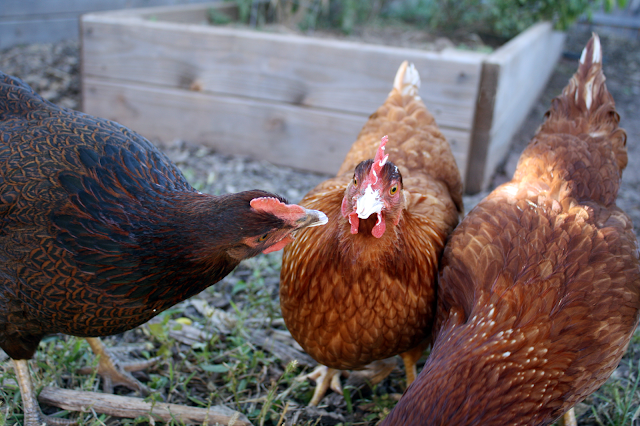
Chris's mom told me to give our chickens yogurt, "it's hilarious to watch"...
Why, yes, it is quite hilarious.
Well, besides being a hoot to watch them get it all over themselves, it is a good source of probiotics. Poultry probiotics are sold as a supplement, but why spend so much when my plain Greek yogurt has the same cultures? However, it is important to remember that it is a treat. Too many treats, of anything, isn't great for them. It's best to offer feed that has been specially designed for a balanced diet, and to let them forage for insects naturally. Here's the most comprehensive resource I've found for what, and what not, to feed your flock.
Tuesday, September 17, 2013
End of Summer Apple and Fennel Soup
I recently purchased some fennel from the farmers market with the intent on grilling them, but I came across this soup on Food52. A tart apple and fennel soup sounded perfect for a Meatless Monday meal. This soup was so light and sweet. With apple season at our door, I'll certainly be making this again!
I used:
2 tablespoons unsalted butter
1 large shallot, diced
1 garlic clove, minced
1 large bulb fennel, cored and cut into 1/2-inch chunks
2 large Granny Smith, cut into 1/2-inch chunks
2 stalks celery, sliced in 1/2-inch pieces, leaves and all
1 tablespoon lemon juice
1 tablespoon honey
I used:
2 tablespoons unsalted butter
1 large shallot, diced
1 garlic clove, minced
1 large bulb fennel, cored and cut into 1/2-inch chunks
2 large Granny Smith, cut into 1/2-inch chunks
2 stalks celery, sliced in 1/2-inch pieces, leaves and all
1 tablespoon lemon juice
1 tablespoon honey
1/2 teaspoon kosher salt plus more to taste
3 cups chicken stock
1 cup watercress
3 tablespoons chopped fresh mint
1 teaspoon chopped fresh thyme
2 tablespoons chopped fennel fronds
1/2 cup Greek yogurt (I didn't have any heavy cream as suggested, but I thought this was an acceptable lighter option)
3 cups chicken stock
1 cup watercress
3 tablespoons chopped fresh mint
1 teaspoon chopped fresh thyme
2 tablespoons chopped fennel fronds
1/2 cup Greek yogurt (I didn't have any heavy cream as suggested, but I thought this was an acceptable lighter option)
As it says in the title, this soup really did only take 20 minutes. Saute the minced shallot, garlic and butter in a heavy bottomed sauce pan. After a minute or two, add the cubed fennel, apple, celery, chicken stock, honey, lemon. Simmer for 10 -15 minutes so that everything gets soft. Add the herbs and puree. The recipe says to strain the puree, but I prefer a little texture. Stir in the yogurt last, and garnish with more herbs. In the future I might swap butter for reserved bacon fat. I think a lil' hint 'o bacon will give it extra oompf. But for Meatless Monday it was perfection!
Thursday, September 12, 2013
Grapefruit Gin & Tonic
I've been enjoying G & T's recently during (hopefully) our last muggy weeks of the season. When I ran out of limes, I used lemons, and when I ran out of lemons, I bought a grapefruit. Probably one of the lesser favorites of the citrus family, I really enjoy it's flavor and tartness. As I mixed this, I recalled a lovely cocktail served to me before the ceremony of an outdoor summer wedding. It definitely was grapefruit based, maybe with champagne? But what stuck me was the sprig of lavender that stuck out. It was so delicately fragrant as you sipped the drink, and went so well with the grapefruit. I had just clipped out bunch of lavender to dry, so I popped one in the glass for a little fanciness.
To make you own incredibly refreshing cocktail you'll need...
To make you own incredibly refreshing cocktail you'll need...
- A glass half full of ice
- About a shot of gin
- A shot or two of freshly squeezed grapefruit
- Top off the glass with tonic
- A sprig of lavender for fragrance
Tuesday, September 10, 2013
Dim Sum at the Imperial Inn
Last Saturday was perfect weather for anything but being indoors, so we put our lengthy weekend to-do list aside and hopped on a train into Philly, destination: Chinatown.
Philadelphia boasts the fourth largest Chinatown in the country, located in Center City between 11th and 8th streets. Chris is lucky to work nearby, so he and co-workers can pop into Chinatown for delicious and authentic eats. Chris has spoke of the Imperial Inn before, as it's touted as one of the best dim sum establishments in Philly. So Saturday afternoon I went for my first dim sum experience!
My knowledge of dim sum comes from a mix of food and travel shows, so I was expecting a Chinese tapas sort of dining. Close, but not quite. A dim sum experience goes something like this... You are seated and are offered a pot of tea. Waitstaff pushes carts piled high with various small dishes. Much like a Brazilian steak house, as they pass by they offer whatever they have on their cart and then they mark what you've taken on your table's bill. After you've eaten your fill, you take your bill up to the counter to pay.
Here's a Serious Eats article on dim sum etiquette. In short, always share, and when in doubt, just eat it! Because there's no menu, I asked a lot of questions, "what's this, what's that?" But generally it's just fun to go by what looks appealing, and just try it because it's most likely delicious. Since Chris had been before he knew a few staples, wide rice noodles, sticky rice wrapped in lotus leaves and bao, below. We tried to get a variety of dishes, but there is only so much two people can eat. Which is why dim sum is perfect for a group to share dishes.
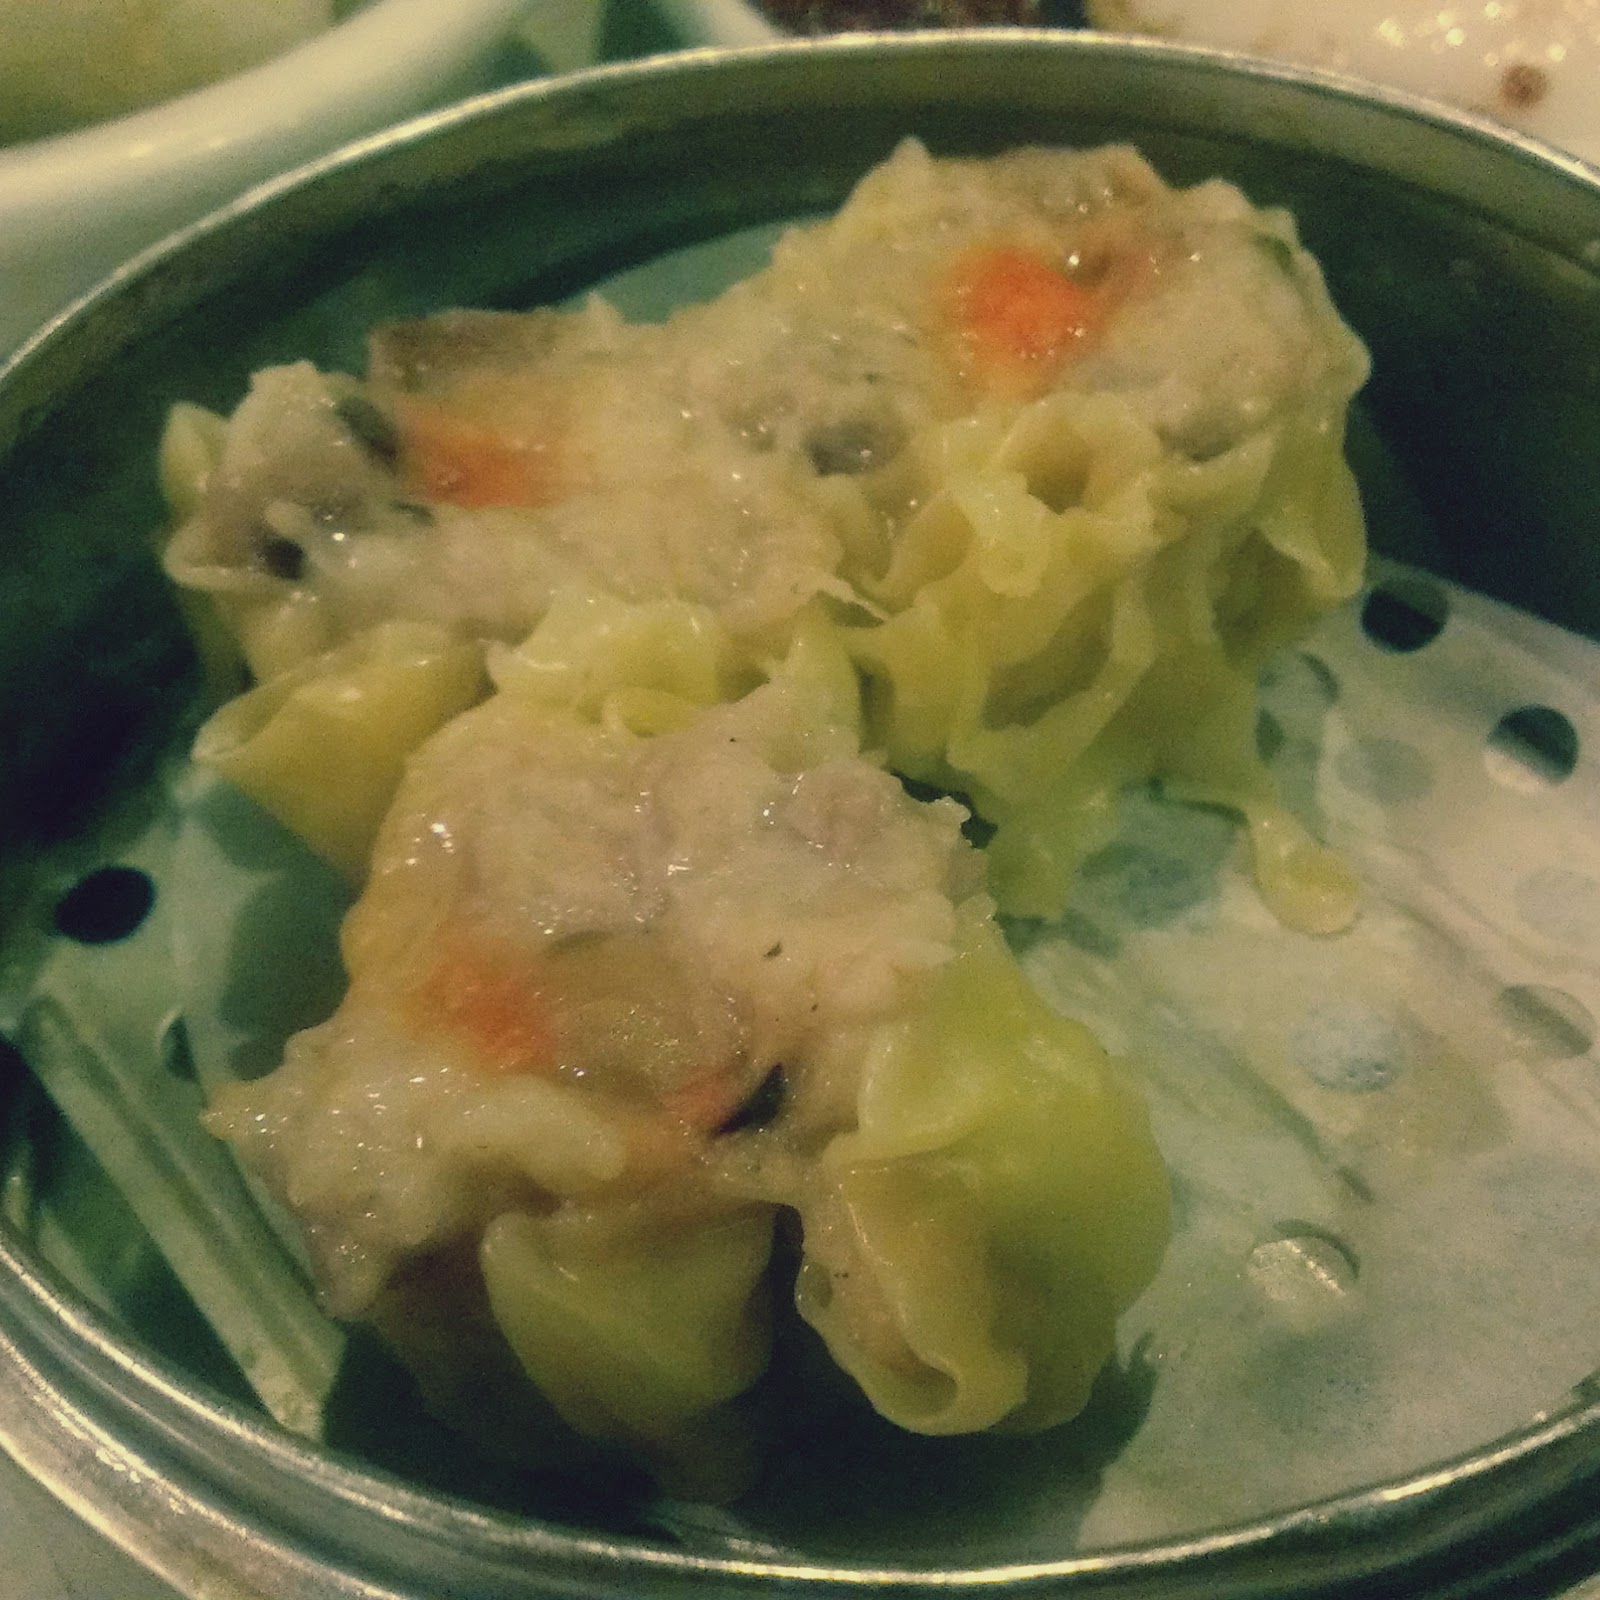
Shown above; pork and shrimp dumplings, beef rice noodles, and scallion bao. The sticky rice is steamed with various meats and spices inside a giant lotus leaf. This was the one dish that I wasn't too keen on. There was a flavor, I'm assuming from the leaf, that hit me the wrong way. It was reminiscent to an earthy tea aftertaste. My favorite were the scallion bao, oniony pork filling inside a glutinous steamed bun. The photos aren't the best representation because the inside of the restaurant was very dark, no windows, just typically ornately decorated with Chinese artwork. And on a side note, I hate taking photos of my food while I'm out! I feel like it takes away from the dining experience. But what's a blog without photos, right?
The restaurant was pleasantly busy, and you could tell that all the food coming out was fresh from the kitchen. Next to us was a table of older gentlemen that seem to be locals. It looked as if they were already there for hours, conversing, eating and enjoying tea. They seemed know how to spend an afternoon right. It's fitting that dim sum translates to "touch your heart", because isn't that what good food does?
Philadelphia boasts the fourth largest Chinatown in the country, located in Center City between 11th and 8th streets. Chris is lucky to work nearby, so he and co-workers can pop into Chinatown for delicious and authentic eats. Chris has spoke of the Imperial Inn before, as it's touted as one of the best dim sum establishments in Philly. So Saturday afternoon I went for my first dim sum experience!
My knowledge of dim sum comes from a mix of food and travel shows, so I was expecting a Chinese tapas sort of dining. Close, but not quite. A dim sum experience goes something like this... You are seated and are offered a pot of tea. Waitstaff pushes carts piled high with various small dishes. Much like a Brazilian steak house, as they pass by they offer whatever they have on their cart and then they mark what you've taken on your table's bill. After you've eaten your fill, you take your bill up to the counter to pay.
Here's a Serious Eats article on dim sum etiquette. In short, always share, and when in doubt, just eat it! Because there's no menu, I asked a lot of questions, "what's this, what's that?" But generally it's just fun to go by what looks appealing, and just try it because it's most likely delicious. Since Chris had been before he knew a few staples, wide rice noodles, sticky rice wrapped in lotus leaves and bao, below. We tried to get a variety of dishes, but there is only so much two people can eat. Which is why dim sum is perfect for a group to share dishes.
 |  |
Shown above; pork and shrimp dumplings, beef rice noodles, and scallion bao. The sticky rice is steamed with various meats and spices inside a giant lotus leaf. This was the one dish that I wasn't too keen on. There was a flavor, I'm assuming from the leaf, that hit me the wrong way. It was reminiscent to an earthy tea aftertaste. My favorite were the scallion bao, oniony pork filling inside a glutinous steamed bun. The photos aren't the best representation because the inside of the restaurant was very dark, no windows, just typically ornately decorated with Chinese artwork. And on a side note, I hate taking photos of my food while I'm out! I feel like it takes away from the dining experience. But what's a blog without photos, right?
The restaurant was pleasantly busy, and you could tell that all the food coming out was fresh from the kitchen. Next to us was a table of older gentlemen that seem to be locals. It looked as if they were already there for hours, conversing, eating and enjoying tea. They seemed know how to spend an afternoon right. It's fitting that dim sum translates to "touch your heart", because isn't that what good food does?
 |
| I really wanted to get one of these, maybe next time... |
Thursday, September 5, 2013
Eggplants at Their Best: Baba Ganoush
I haven't ever gotten too excited over eggplant. Done right, they are heavenly, but there are so many ways to do them wrong. Under-cooked, they're weirdly spongy, and a bit bland. To me, they seem to require a little more finesse than other veggies, so admittedly I don't cook with them often. My eggplant love affair began after eating baba ganoush at an Israeli restaurant. I think, up until then, I imagined it was just a different type of hummus, au contraire! Baba ganoush is like hummus in that it also uses a tahini base, but instead of chick peas, the superstar is roasted eggplant. After reading the gist of the recipe, I thought, "that seems too easy"... To the kitchen!
I got this recipe from David Lebovitz, go ahead and read the entire post because he muses on dining in France, where baba ganoush is called caviar d’aubergines. Fancy.
Ready? You'll need:
3 medium-sized eggplants (perfect timing because eggplants are in season)
1/2 cup tahini (sesame paste)
1 1/4 teaspoons coarse salt
3 tablespoons freshly-squeezed lemon juice
3 cloves garlic, peeled and smashed
1/8 teaspoon chile powder (I also added a pinch of Hungarian paprika for more smokiness)
1 tablespoon olive oil
a half bunch picked flat-leaf parsley or cilantro leaves
Pre-heat the oven to 375°. After you've picked out your prize winning eggplants, poke them a few times with a fork. If you have a gas stove top, turn your burner on, and put those eggplants right on the burner, one a piece. If you don't have a gas burner, that's okay. Just pierce them and move on to the next step.
Rotate them to evenly char the skin for 5-10 minutes, based on how smokey you'd like them. Before making this I've never put any vegetables directly on my stove top, but it's a really helpful technique! Apparently you can skin red peppers easily this way too. Watch them, otherwise they could set off the smoke detector. The skin gets charred and papery. I used tongs to transfer them to a baking sheet.
Bake them for 20 - 30 minutes. A knife should easily slide in without resistance. I put the timer on for 20 and test them.
Let them cool before halving them and scooping out the roasted goodness. The skin should peel right off, if not, they could probably use some more oven time.
Blend the innards with the rest of the ingredients. *Be careful when scooping out the tahini. The oil naturally separates and sits on the top, so it's best to try to mix it up a bit. Easy as baba ganoush!
Serve with fresh pita, toasted bread, or if you're like me, and have giant bags of Stacy's pita chips hanging around, use them. David remarks on how this would actually be a little more flavorful if you made it a day or two in advance, making it excellent for entertaining. For that extra presentation panache, when you're ready to serve, put the spread in a bowl and using a spoon swirl a spiral in the top. Drizzle some olive oil over and let it nestle in the indentations. Top with finely chopped parsley.
Tuesday, September 3, 2013
Subscribe to:
Comments (Atom)


